With Crowded, you can collect payments for your organization in 3 ways:
The good news is that you don’t need to pick just one. Create unlimited collection links of any type for your organization, and watch the payments roll in!
For Fixed Amount collections only!
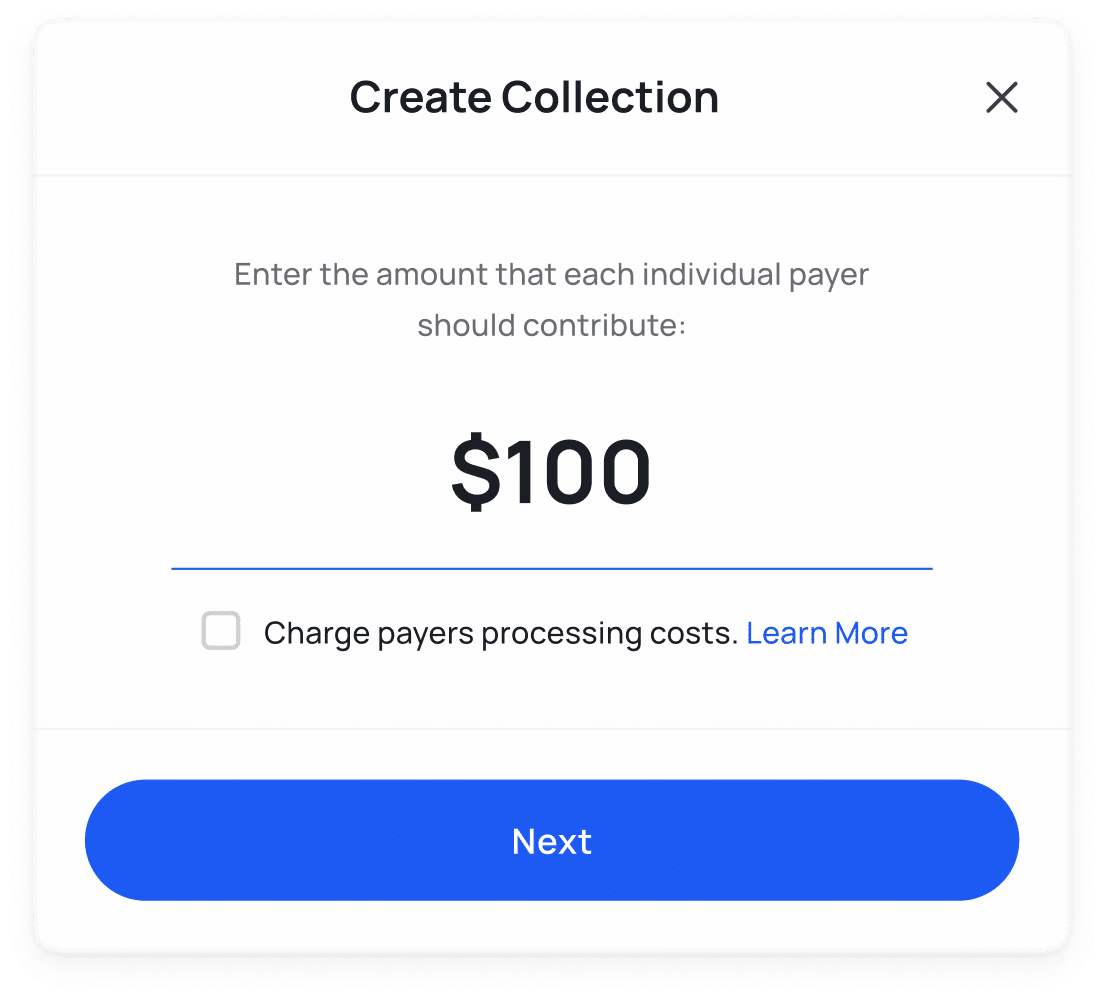
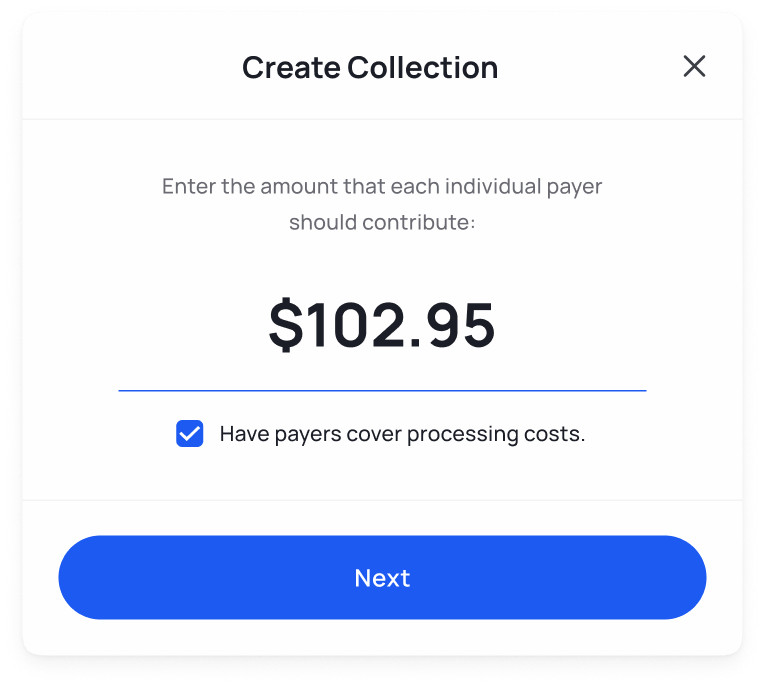
Enter the amount you would like each person to pay. If you would like payers to cover the collection processing fees, click on the checkbox below the amount field.
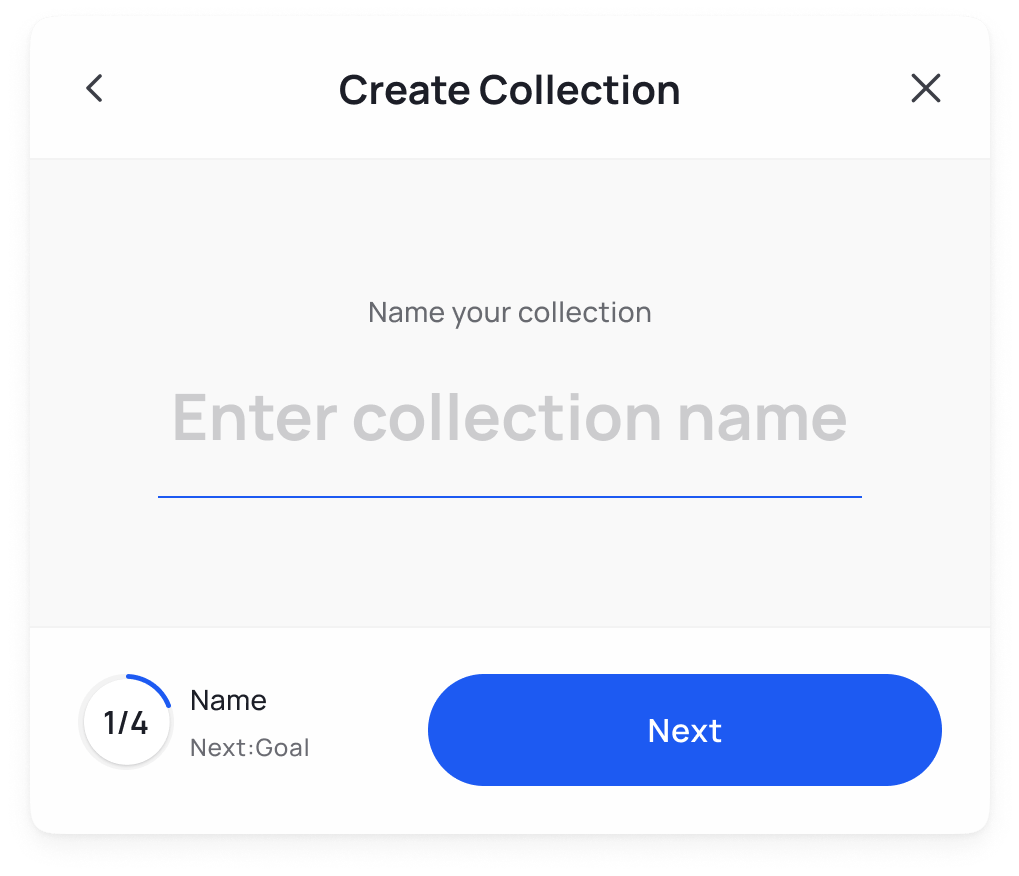
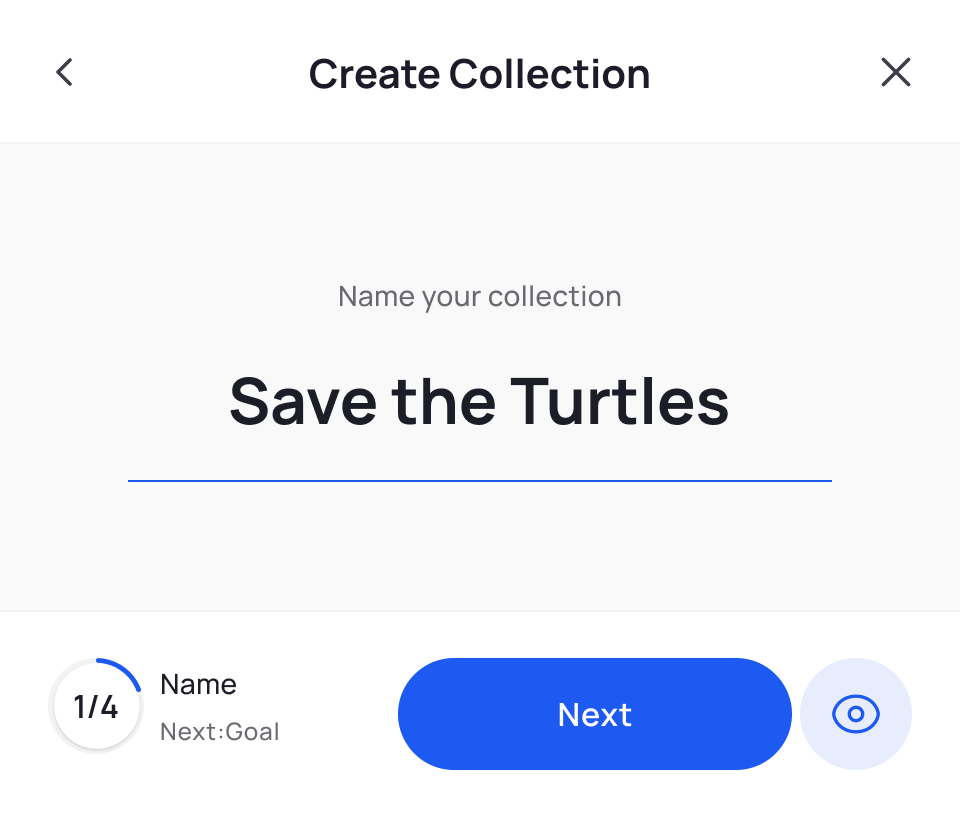
This name will allow you to identify the purpose or event that you are collecting payments for.
Tip: Be sure to choose a clear and descriptive name that will be easily recognizable to your payers.
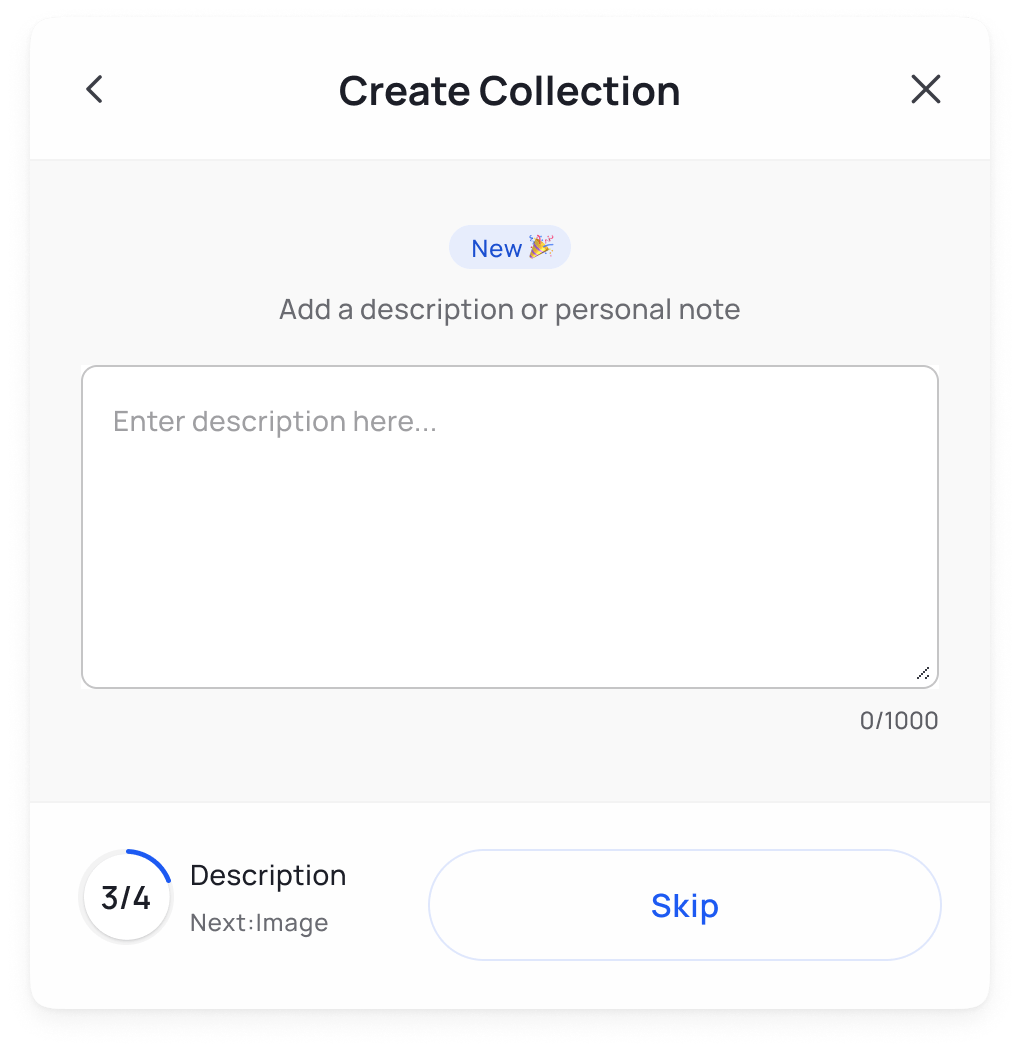
Give payers context to your fundraiser, an overview of your organization, or add a personal note. Skip this step if you’re not interested in adding a description.
Attach an image to give a visual to your payment page – pictures are worth a thousand words! We recommend that the image has a ratio is 16:9, is a JPG or PNG, and is under 10 MB. This is also optional, skip if not desired and add later.

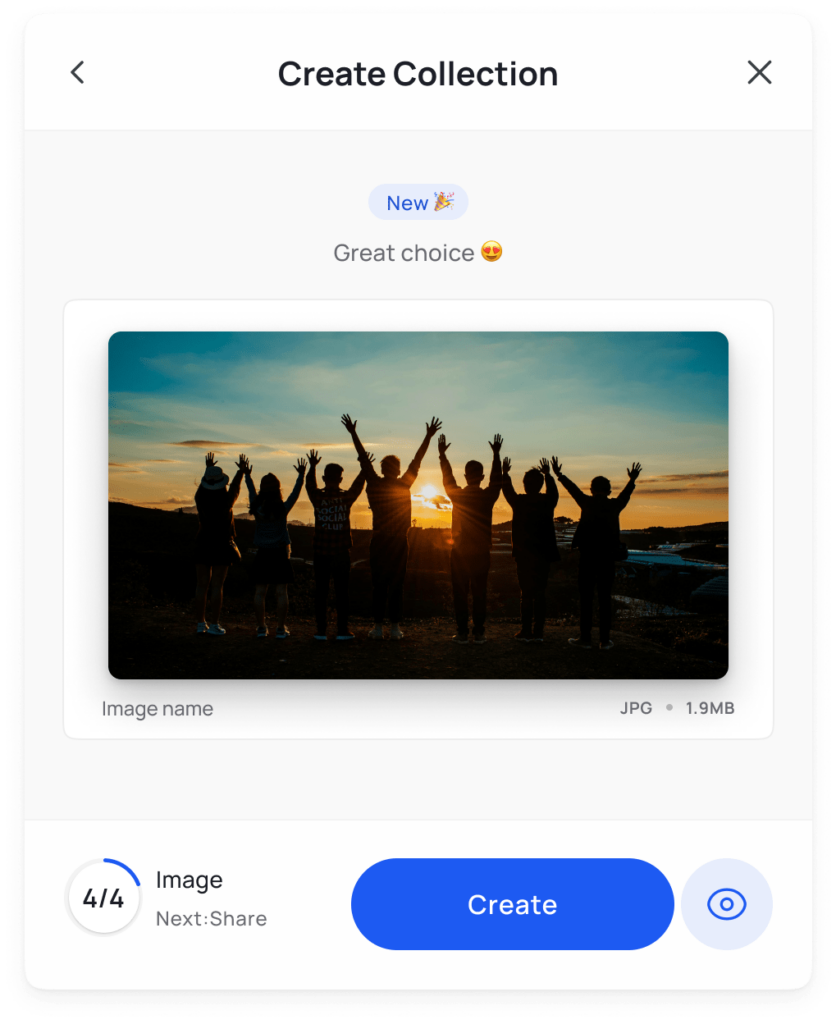
Now you’re ready to share your collection link with your contacts 🎉
Here are a few ways to share your collection link:
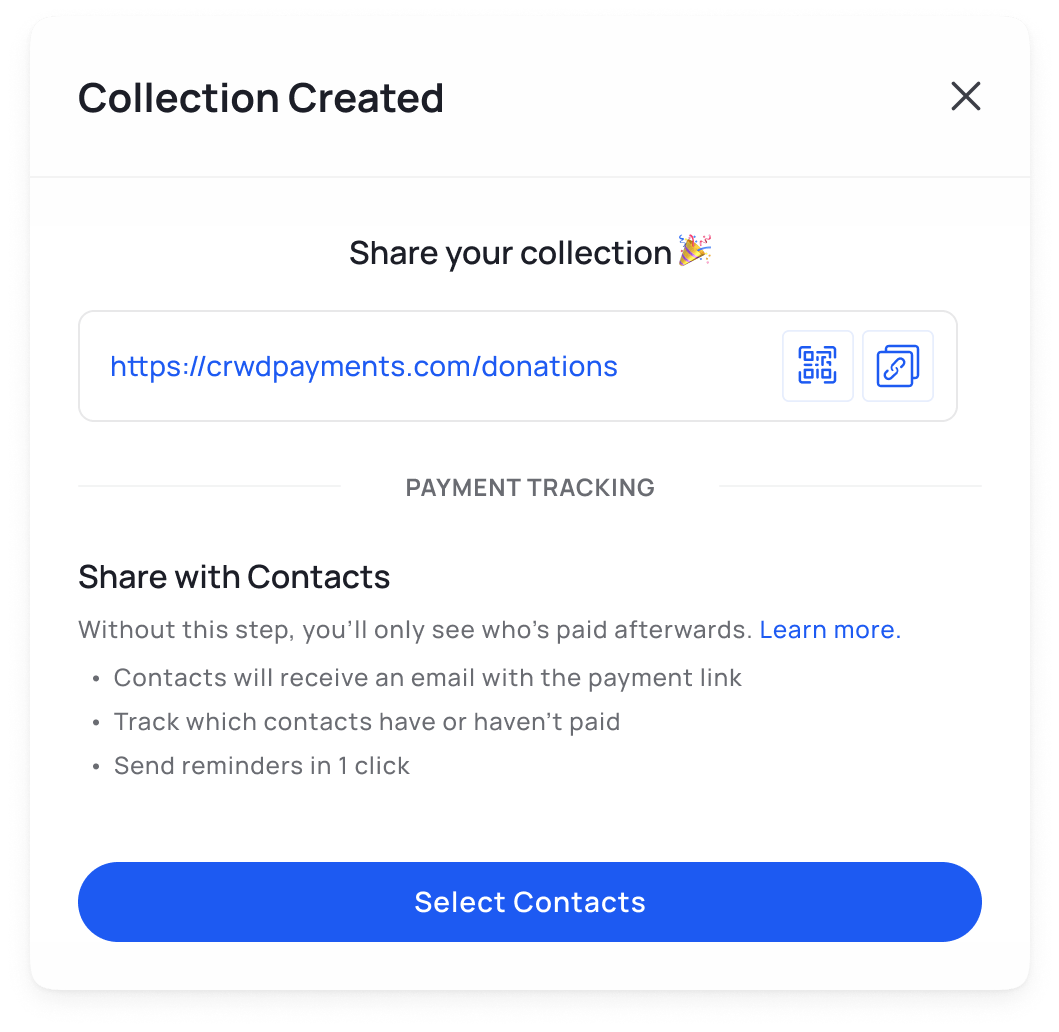
You can copy the generated collection link and paste it into your preferred communication channel, such as email, messaging apps, or social media.
If you’ve uploaded member lists as contacts to Crowded, you can use our built-in email feature to send the link to your payers. See here for a guide to uploading contacts.
Tip: If you only want to send to a certain subsection of your group, use tags to organize your contacts, and only send to tagged contacts.
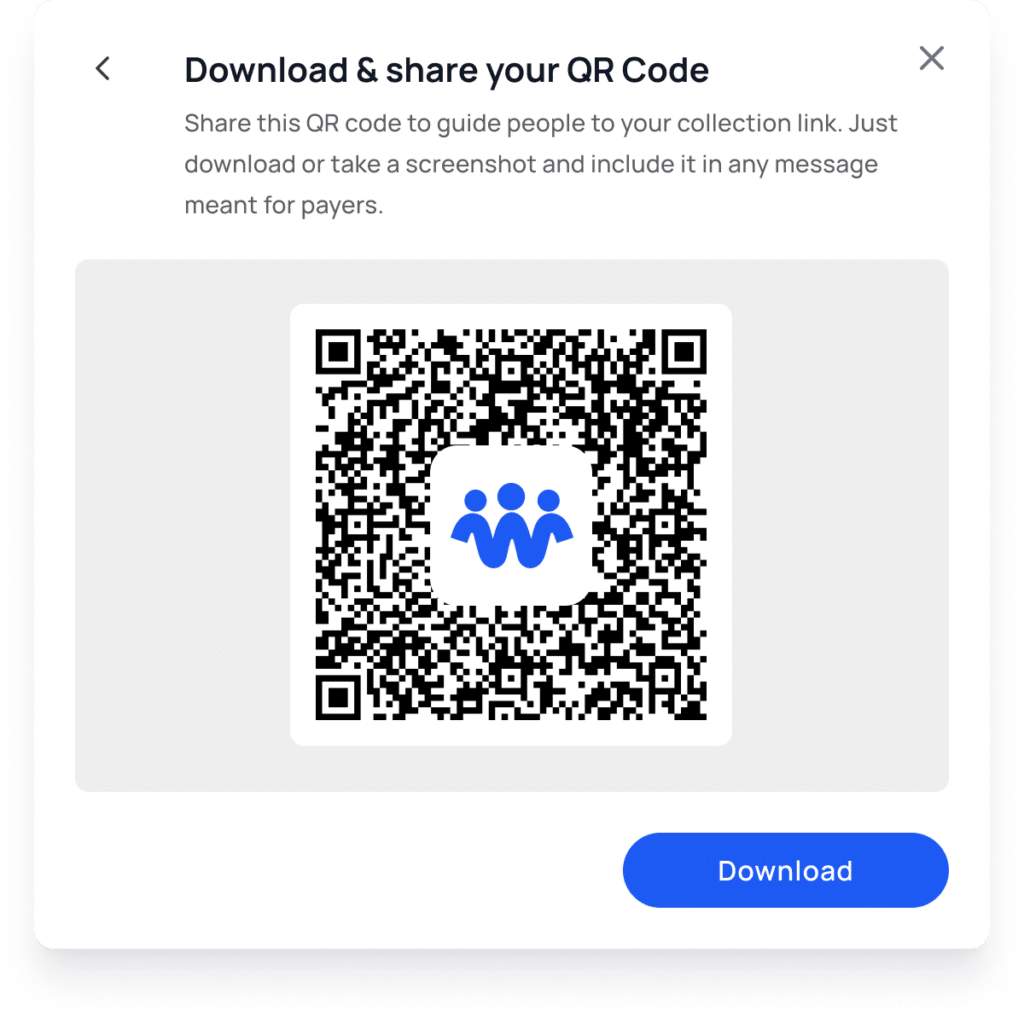
Share your collection link with a QR code. Download or screenshot the QR code and share with your payers.
Tip: Place the QR code on a printed poster or card to allow sharing of your link offline
That’s it! You have successfully created your Crowded collection link.
Now you can easily collect payments from your community online 💸
See our 5 Tips on Raising More to take your collections to the next level and increase incoming payments!

* Crowded Technologies Inc is a financial technology company and is not a bank. Banking services provided by TransPecos Banks, SSB; Member FDIC. The Crowded Technologies Inc. Visa® Debit Card is issued by TransPecos Banks, SSB pursuant to a license from Visa U.S.A. Inc. and may be used everywhere Visa debit cards are accepted.
There are no fees associated with account opening, but transaction fees may apply; please refer to the Crowded Business Deposit Account Agreement for more details on account transaction fees.
** Accounts are eligible for pass-through deposit insurance only to the extent pass-through insurance is permitted by the rules and regulations of the FDIC, and if the requirements for pass-through insurance are satisfied. There may be a risk that pass-through deposit insurance is not available because conditions have not been satisfied. In such cases, funds may not be fully insured in the event the insured depository institution where the funds have been deposited were to fail.
To provide the best experiences, we use technologies like cookies to store and/or access device information as specified in our Privacy Policy. Consenting to these technologies will allow us to process data such as browsing behavior or unique IDs on this site. Not consenting or withdrawing consent, may adversely affect certain features and functions.