Crowded’s Per Diem accounts are an easy way to pay out per diems to an athletic team. Once you create an account with all the athletes loaded on, sending them money for per diems takes just one minute. Here’s our guide for how to get it all set up:
How to register your student athletes for Crowded Per Diem accounts
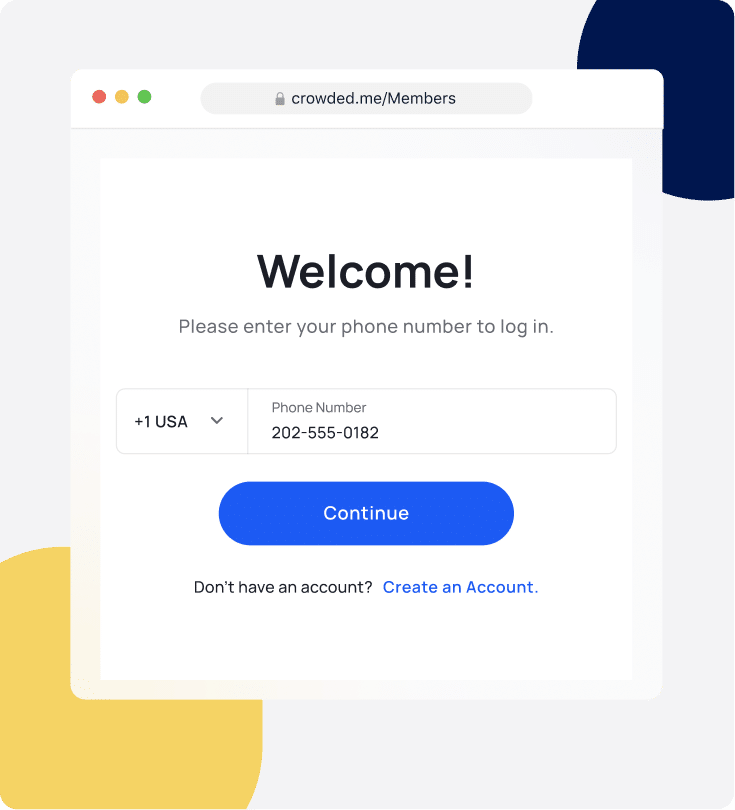
1. Log in to Crowded’s web portal.
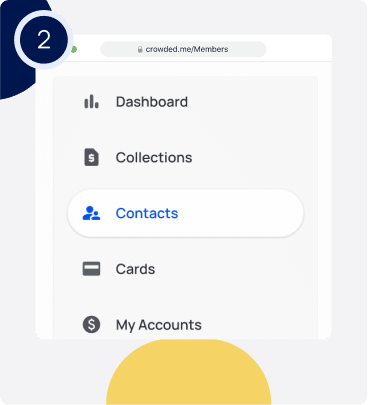
3. There are two options for inviting counselors to join Crowded to access their salaries. One way is to compile all of the counselors and their information into a CSV and bulk upload those into your Crowded account as contacts (Recommended). Or, send the counselors a sign-up link that they would need to click on and complete their registration.
4. To prepare the CSV for upload, organize the information into the following columns into an Excel or Google Sheets file, or download our preformatted template:
- First Name
- Last Name
- Mobile Number (include country codes, i.e. +1 for US numbers)
- Date of birth (needed for issuing debit cards)

5. Double-check all the information to ensure that all the information is correct, and upload it to the platform.
6. Follow the prompts to check that all the data was uploaded correctly, and confirm the upload!
How to create Per Diem accounts for an athletic team
Once the roster is successfully registered with Crowded, you can start setting up their per diem accounts.
To create per diem accounts:
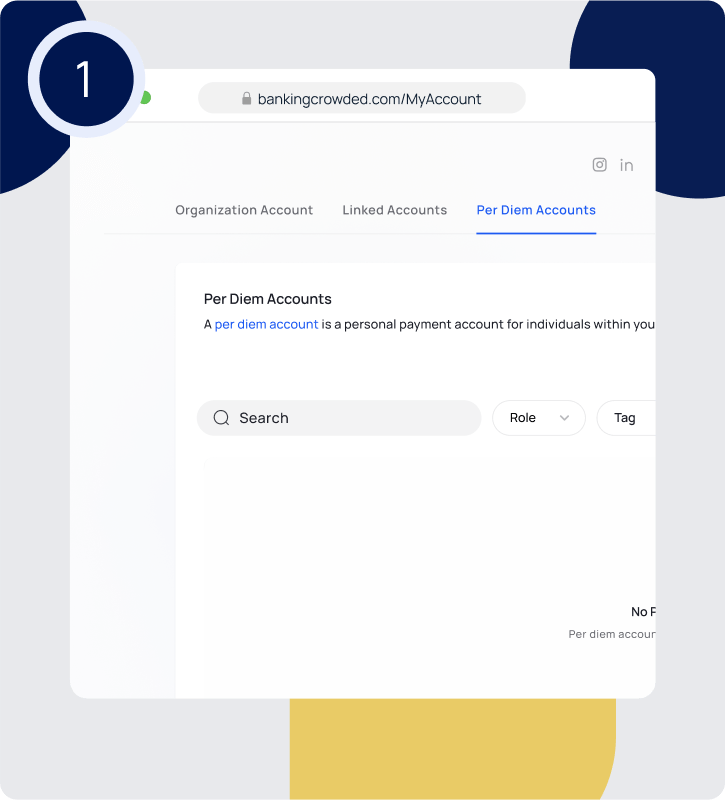
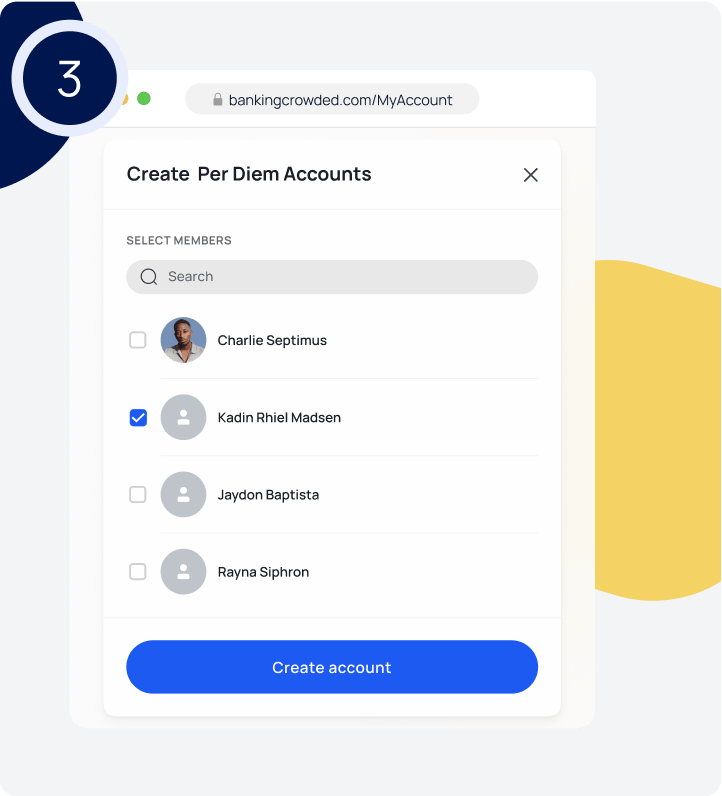
1. Navigate to “My Accounts” and click on the “Per Diem Accounts” tab.
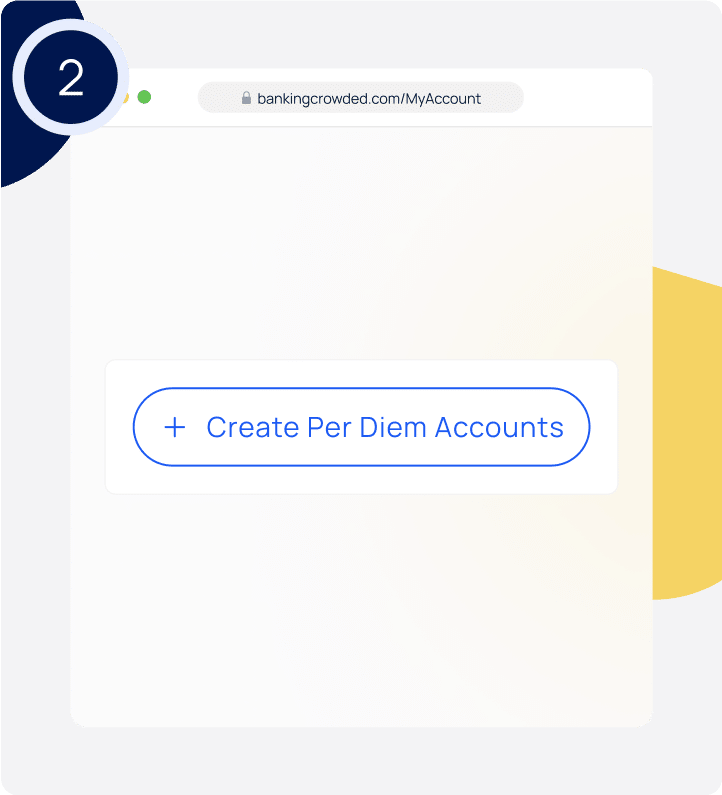
2. Click on the “Create Per Diem Accounts” button.
3. Select the athletes you’d like to issue a per diem account to.
☝️Physical debit cards are available to order for all Per Diem accounts. To place a physical card order and to receive batch pricing, please get in touch with [email protected].
How to fund the team’s Per Diem accounts
1. You can add funds to Per Diem account(s) on the web or the Crowded app. On the web, go to the “My Accounts” tab, and then select “Per Diem Accounts.” From there, you can easily transfer funds from your Crowded balance to as many per diem accounts as you’d like.
On mobile, click the blue plus sign on the bottom of the screen, click “Add Funds” and “Per Diem Accounts”
2. Select the account by checking the box next to the athletes name, and click on “Add Funds” on the bottom bar. If you want to add funds to all the accounts simultaneously, select the checkbox next to “Per Diem Account User Name,” and then click on “Add Funds”. On mobile, tap “Select all”
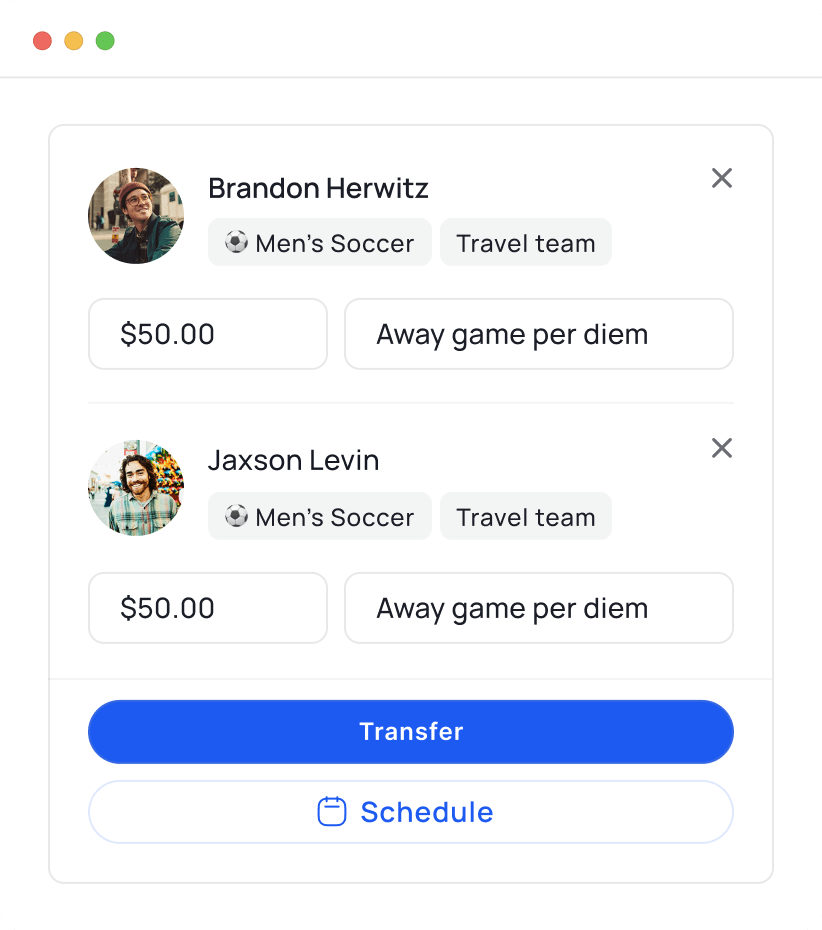
3. Select the amount of money and a reference for the transfer (ie. $25 for the semi-final away game) To transfer the same amount with the same reference to all the selected accounts, click “Apply same amount / Reference.” On mobile fill out the “Apply to all” section at the top.
4. And that’s it! The athlete’s per diem cards will automatically be updated with the new funds, they’ll receive a notification via email, and will be able to spend their per diem on their digital or physical cards.
Keep per diem’s organized with tags
Categorize your players by tags for convenience and better organization. Create tags for quickly paying per diems to just a subsection of the team. For example, if only part of the team is travelling, create a tag called “Travel team” or “Starting players.”
When you are funding the per diem accounts, filter by that tag, and only select those with the tag quickly and easily.
1.Go to the “My Accounts” tab, and then select “Per Diem Accounts.” On mobile, click the blue plus sign on the bottom of the screen, click “Add Funds” and “Per Diem Accounts.”
2. Select the tag that you want to filter by from the “Tags” on the web. On mobile, click the filter symbol next to the search bar, and select the desired tags.
3. Check the checkbox next to “Account owner” to check off all of the athletes with that tag, and click “Add Funds”. On mobile, tap “Select all”
4. Set the amount and a reference for the transfer (ie. $500 for Paycheck). To transfer the same amount with the same reference to all selected accounts, click “Apply same amount / Reference.” On mobile fill out the “Apply to all” section at the top.
5. And that’s it! The funds will transfer instantly from your Crowded account’s primary checking account to those accounts and the athlete’s cards will automatically be updated with the new funds. They will be notified via email, and can immediately start spending.


