How to register your staff on Crowded
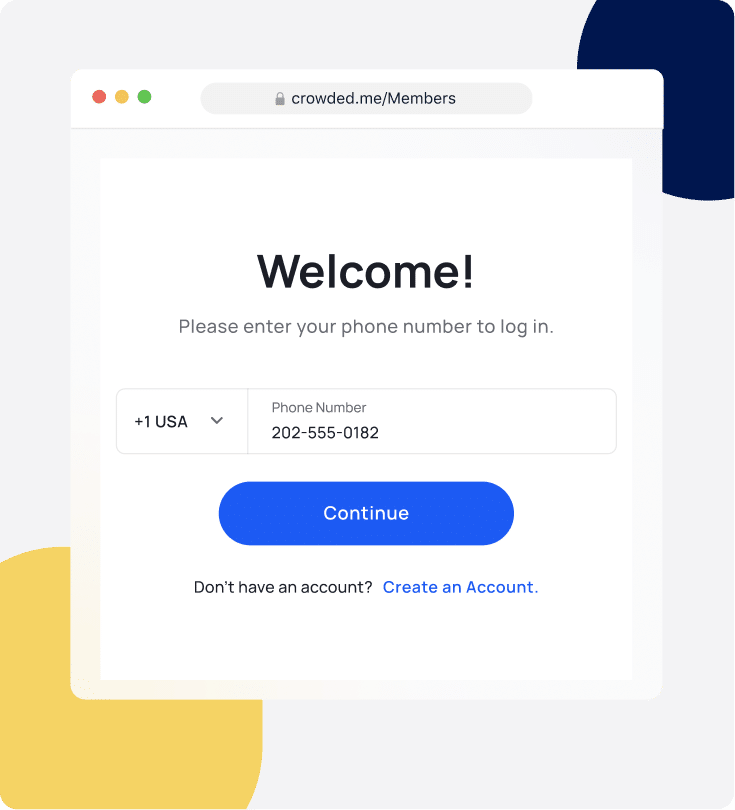
1. Log in to Crowded’s web portal.
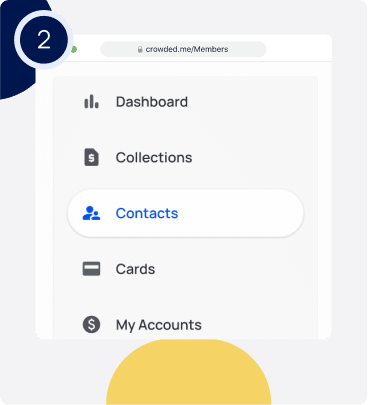

3. There are two options for inviting counselors to join Crowded to access their salaries.
One way is to compile all of the counselors and their information into a CSV and bulk upload those into your Crowded account as contacts (Recommended).
Or, send the counselors a sign-up link to register themselves
4. To prepare the CSV for upload, organize the information into the following columns into an Excel or Google Sheets file:
- First Name
- Last Name
- Mobile Number (include country codes, i.e. +1 for US numbers)
- Date of birth (needed for issuing debit cards)
You can upload up to 500 counselors at a time. Complete multiple uploads if necessary.
5. Double check all the information to ensure that all the information is correct, and upload to the platform.
6. Follow the prompts to check that all the data was uploaded correctly, and confirm the upload!
Here’s a sample email to send to invite your staff
If sending an invite link:
Hello Summer 2024 International Staff,
We’re so excited to have you on board this summer! We will be paying you through a financial platform, Crowded, where you will have a dedicated account to receive your salary.
You will be able to access your salary from the Crowded app, but first, you must complete your registration.
Please click on this link to complete your registration for the platform: {INSERT LINK}
Once you’ve registered, download the Crowded Banking mobile app from the App Store or Google Play store and log in using your phone number.
Read the full guide on using Crowded as camp staff.
If uploading via CSV:
Hello Summer 2024 International Staff,
We’re so excited to have you on board this summer! We will be paying you through a financial platform, Crowded, where you will have a dedicated account to receive your salary.
Download the Crowded Banking mobile app from the App Store or Google Play store and log in using your phone number to access your salary.
Read the full guide on using Crowded as camp staff.
How to create and fund Per Diem accounts for the international staff
Once all the counselors are successfully uploaded and registered with Crowded, you can set up their Per Diem accounts.
Once you’ve created a Per Diem account for each of your staff members and funded the accounts, your staff will be able to access their funds by logging into the mobile app using their phone number, 4-digit PIN, or Face ID.
To create Per Diem accounts:
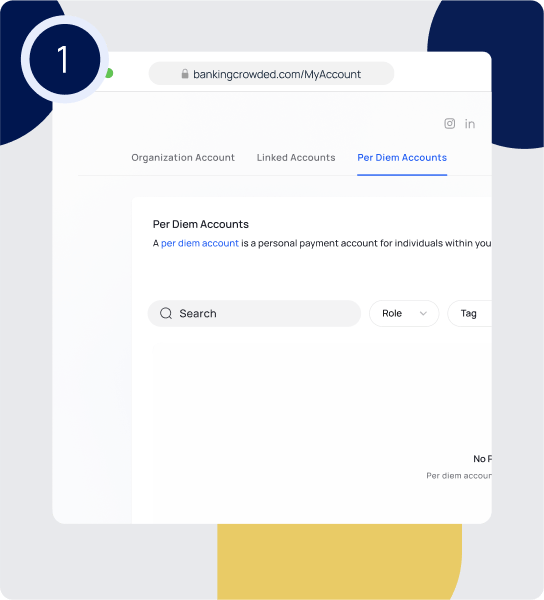
1. Navigate to “My Accounts” and click on the “Per Diem Accounts” tab.
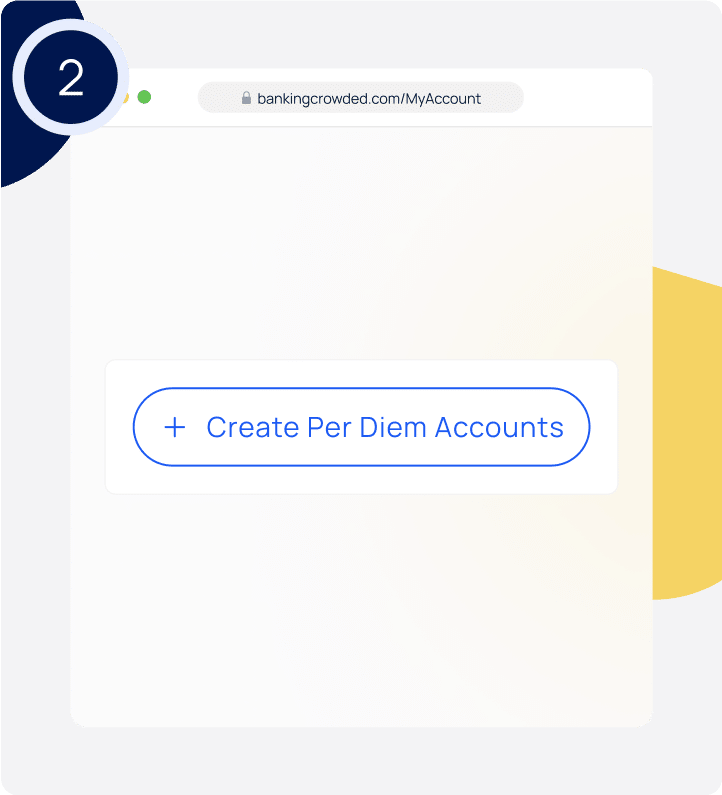
2. Click on the “Create Per Diem Accounts” button.
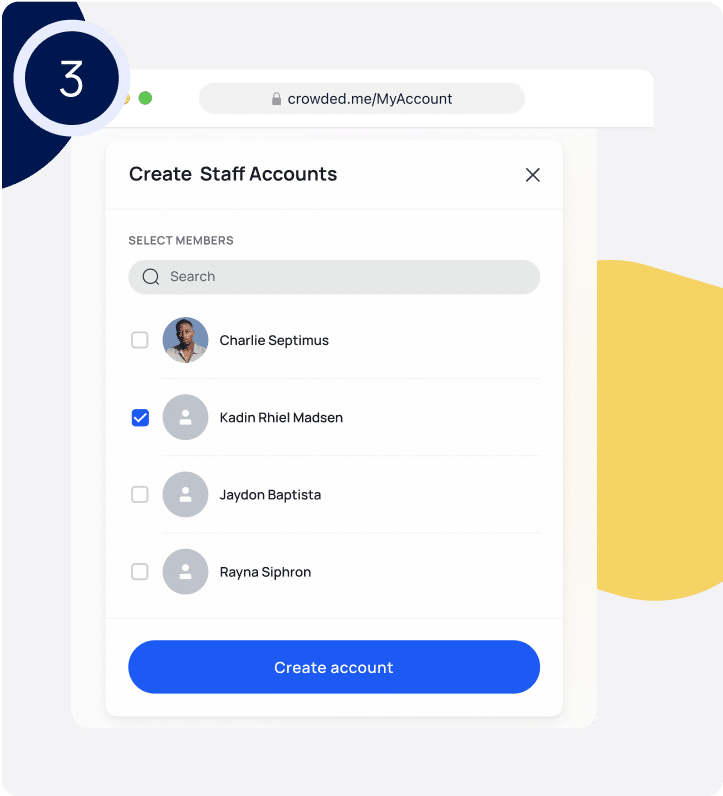
4. To continue onto adding funds to those accounts, click “Fund Accounts” and choose how much and the reference for each transfer.
To transfer the same amount with the same reference to all the newly created Per Diem accounts, click “Apply Same Amount / Reference.” On mobile fill out the “Apply to all” section at the top.
5. The funds will transfer instantly from your Crowded account’s primary checking account to those accounts and the counselor’s cards will automatically be updated with the new funds. They will be notified via email, and can immediately start spending.
Alternatively, if you wish to use your existing payroll to fund these accounts, you can export all the necessary transfer information for each Per Diem account by clicking on “Export All.”
Staff members will be able to transfer funds out of their account to US bank account via ACH transfer or to international accounts using Visa Direct.
☝️Physical debit cards are available to order for all staff accounts. To place a physical card order and to receive batch pricing, please get in touch with [email protected].
How to fund Staff Per Diem accounts
1. To add funds to Per Diem account(s), go to the “My Accounts” tab, and then select “Per Diem Accounts.” From there, you can easily transfer funds from your Crowded primary checking account to as many Per Diem accounts as you’d like.
On mobile, click the blue plus sign on the bottom of the screen, click “Add Funds” and “Per Diem Accounts”.
2. To add funds to all the accounts simultaneously, select the checkbox next to “Per Diem Account User Name,” and then click on “Add Funds.”
On mobile, tap “Select all”
Or, select any specific account by checking the box next to the counselor’s name, and click “Add Funds”.
3. Select the amount of money and a reference for the transfer (ie. $500 for June payroll). To transfer the same amount with the same reference to all selected accounts, click “Apply same amount / Reference.” On mobile fill out the “Apply to all” section at the top.
4. And that’s it! The funds will transfer instantly from your Crowded account’s primary checking account to those accounts and the counselor’s cards will automatically be updated with the new funds. They will be notified via email, and can immediately start spending.
How to add funds with a CSV
If you’re using an external payroll software provider to calculate salaries, download the information and upload the payments by CSV to Crowded.
1. Go to the “My Accounts” tab, and then select “Per Diem Accounts.”
2. Click the checkmark on the top bar to select all accounts, or select specific accounts and from the floating bar, select “Add Funds.”
3. You’ll see the “Export All” button. When you click there, you can export the list of the selected accounts to Excel or Google Sheets, fill in the amount and reason for each account, and export it as a CSV.
Or, download a spreadsheet from payroll software and align it with the required columns (first name, last name, email, transfer amount and reason) and export it as a CSV.
4. Upload the filled-out spreadsheet to the Crowded platform, and ensure that all of the information is correct. Once it’s all set, complete the upload and the counselor’s accounts will be updated instantly!
How to add funds to staff accounts with tags
Categorize your counselors by tags for convenience and better organization. For example, create tags to differentiate counselors, kitchen staff, logistics team, etc.
When you are funding Per Diem accounts to pay salaries to a specific subgroup, filter by that tag, and only select those with the tag quickly and easily.
1. Go to the “My Accounts” tab, and then select “Per Diem Accounts.”
On mobile, click the blue plus sign on the bottom of the screen, click “Add Funds” and “Per Diem Accounts“.
2. Select the tag that you want to filter by from the “Tags” on the web.
On mobile, click the filter symbol next to the search bar, and select the desired tags.
3. Check the checkbox next to “Account owner” to check off all of the counselors with that tag, and click “Add Funds”.
On mobile, tap “Select all”
4. Set the amount and a reference for the transfer (ie. $500 for Paycheck). To transfer the same amount with the same reference to all selected accounts, click “Apply same amount / Reference.”
On mobile fill out the “Apply to all” section at the top.
5. And that’s it! The funds will transfer instantly from your Crowded account’s primary checking account to those accounts and the counselor’s cards will automatically be updated with the new funds. They will be notified via email, and can immediately start spending.
How to use Crowded to manage counselor camp-related spending
With Crowded, you can assign Visa® debit cards to your staff members that are linked to your organizational account. These cards have a $0 balance by default, and counselors can only spend the amount allocated to them by a camp admin.
All spending details are automatically recorded in your transaction history, which can be seamlessly integrated with bookkeeping and accounting software such as Quickbooks and Xero.
This provides a streamlined and efficient way to manage counselor spending while keeping track of all transactions in one place.
Issue new card
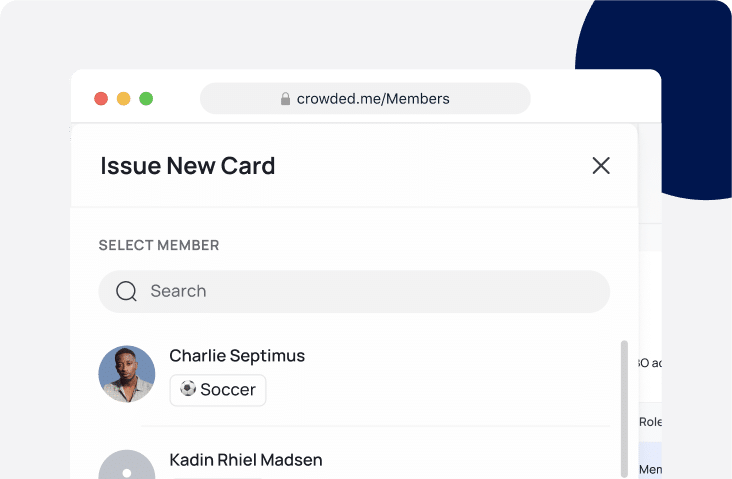
After your staff has registered on the app, you can issue a card to any of them by going to the “Spending Cards” section on the main dashboard and clicking “Add Funds.”
Then, select “Issue Card” from there and confirm your selection by clicking “Yes.”
Add funds to cards
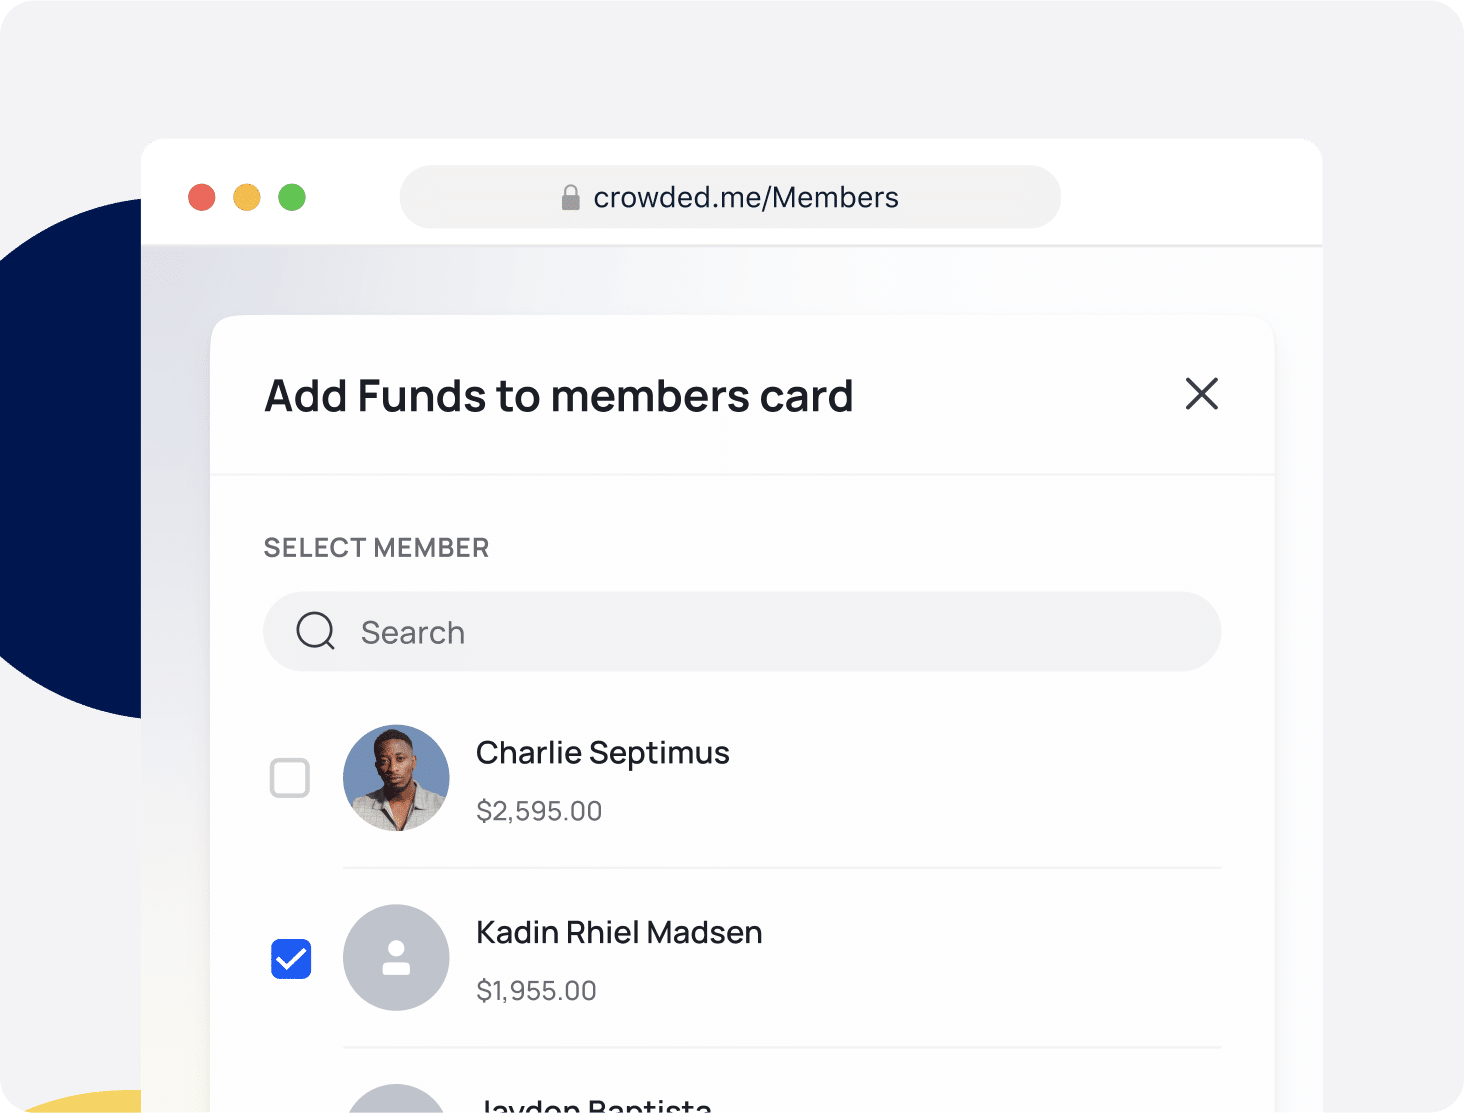
When you’re ready to add funds to a card, return to the “Spending Cards” section and click “Add Funds” again.
Check the box next to the member(s) you want to send funds to, enter the desired amount (along with an optional reference note for bookkeeping), and click “Submit.”
Freeze a card
If you need to freeze, redeem funds back from the card, or cancel the card at any time, go to the “Spending Cards” section in the “Cards” tab of the platform to perform those actions.
